Not sure what to shoot? Let the deck decide.
Swipe to view more
Free 7-day course
Street Photography Course
One short lesson a day for a week, then a weekly prompt to keep you shooting.
Flash — Manual, Direct, Close
Set your flash to manual. Start at 1/8 power. Set your aperture to f/8, ISO 400, shutter to your sync speed (typically 1/180–1/250). Get close - 1 to 2 metres. The flash freezes the subject, the ambient bleeds in around them. That's the look. Adjust power down if faces are blowing out. Adjust aperture if the background is going too dark. Don't chimp after every frame - shoot, move, repeat. Watch for: catchlights in eyes. Harsh shadows on walls directly behind subjects. The slightly startled look that makes a picture. The point: flash in daylight is confrontational. Flash at night is theatrical. Both are valid. Neither is subtle. That's the point.
Shutter Drag (Night)
Set your shutter to 1/15 or slower. ISO low (400 or under). Aperture to taste - f/5.6 is a reasonable start. Fire the flash. The flash freezes your subject. The slow shutter drags the ambient light - headlights, neon, street lamps - into streaks behind them. Hand-hold deliberately. A small amount of camera movement adds to the effect. Too much and you lose your subject entirely. Watch for: light sources in the background - the more the better. Moving traffic. Wet streets double everything. The point: still subject, chaotic world. It's a good metaphor and it looks brilliant.
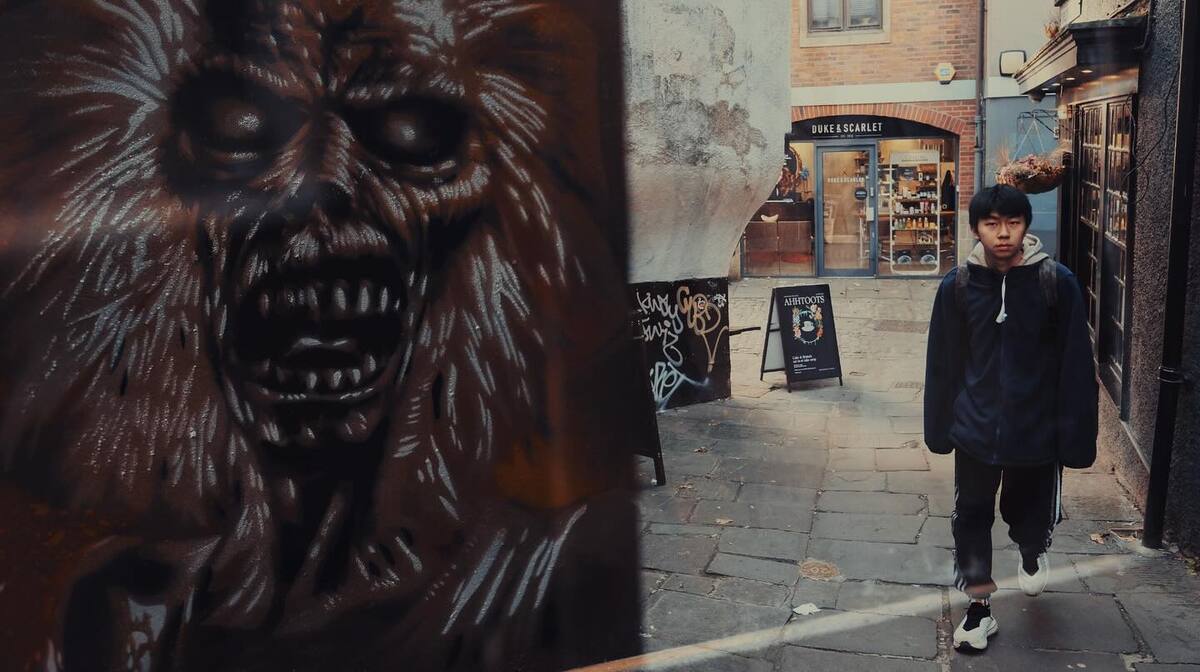
Multiple Exposure (In-Camera)
Find Multiple Exposure in your camera's shooting menu (most mirrorless bodies have it). Set it to Additive or Average depending on how much bleed you want. Additive is more aggressive - highlights stack and burn. Average is subtler. Shoot your first frame. The camera holds it as an overlay. Compose your second shot with that ghost in mind. Faces over architecture. Crowds over empty space. Texture over portraits. Watch for: tonal separation between the two frames - if they're too similar in brightness, they'll merge into mud. High contrast subjects work best for the first frame. The point: in-camera double exposures reward planning but punish overthinking. Have a loose idea, then react.
Resources
Free guides on UK photography law, technique, locations, and where to start — no purchase needed.
Browse resources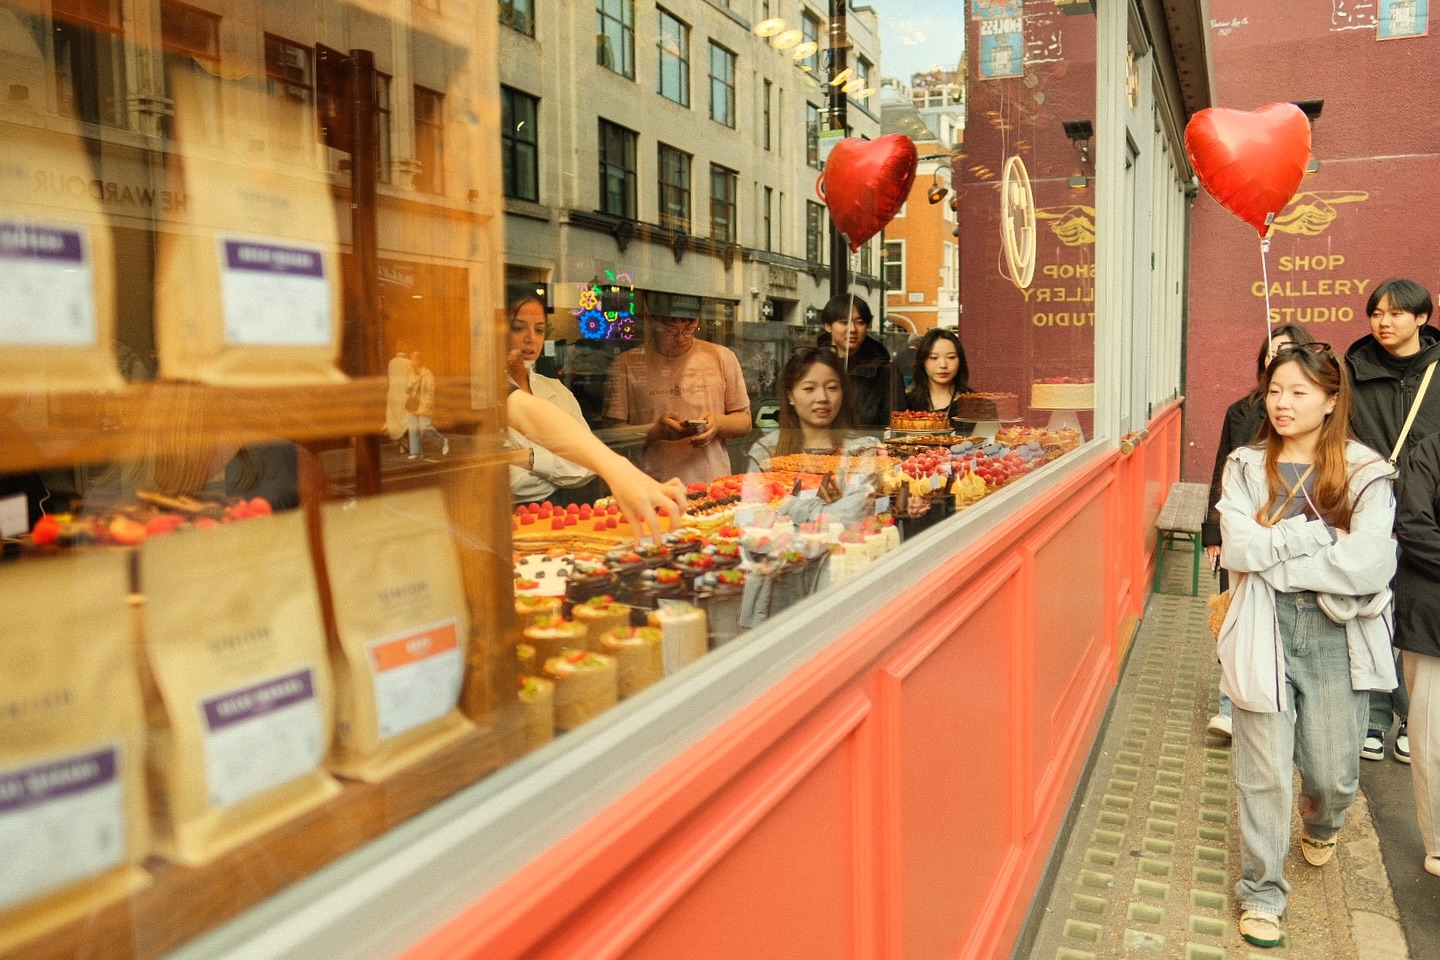
Colour Hunting
Pick a colour before you leave the house. One colour. That's your constraint for the session. Find it in clothing, signage, vehicles, shop fronts, food. Photograph it wherever it appears. The discipline is in noticing. A red umbrella in a grey crowd. A yellow door in a brick terrace. Green wellies at a car boot. Watch for: colour repetition in a single frame - two people in the same colour who don't know each other. That's the shot. The point: constraints make you look harder. Colour is everywhere once you're tuned to it. This exercise rewires how you see a street.
Zone Focusing
Set your focus to a fixed distance - 2 metres is a good street distance. Stop down to f/8 or f/11. At those apertures your depth of field covers roughly 1.5 to 3.5 metres depending on focal length. Everything in that zone is sharp. Now you don't need to focus. Raise the camera, shoot, move. Or shoot from the hip entirely. Watch for: your own feet in frame - a common hip-shooting error. Tilt the camera up slightly. Also watch for the subject drifting outside your zone. Stay disciplined about distance. The point: removing the focusing step means faster reactions and less camera-to-face time. Less threatening. More spontaneous.
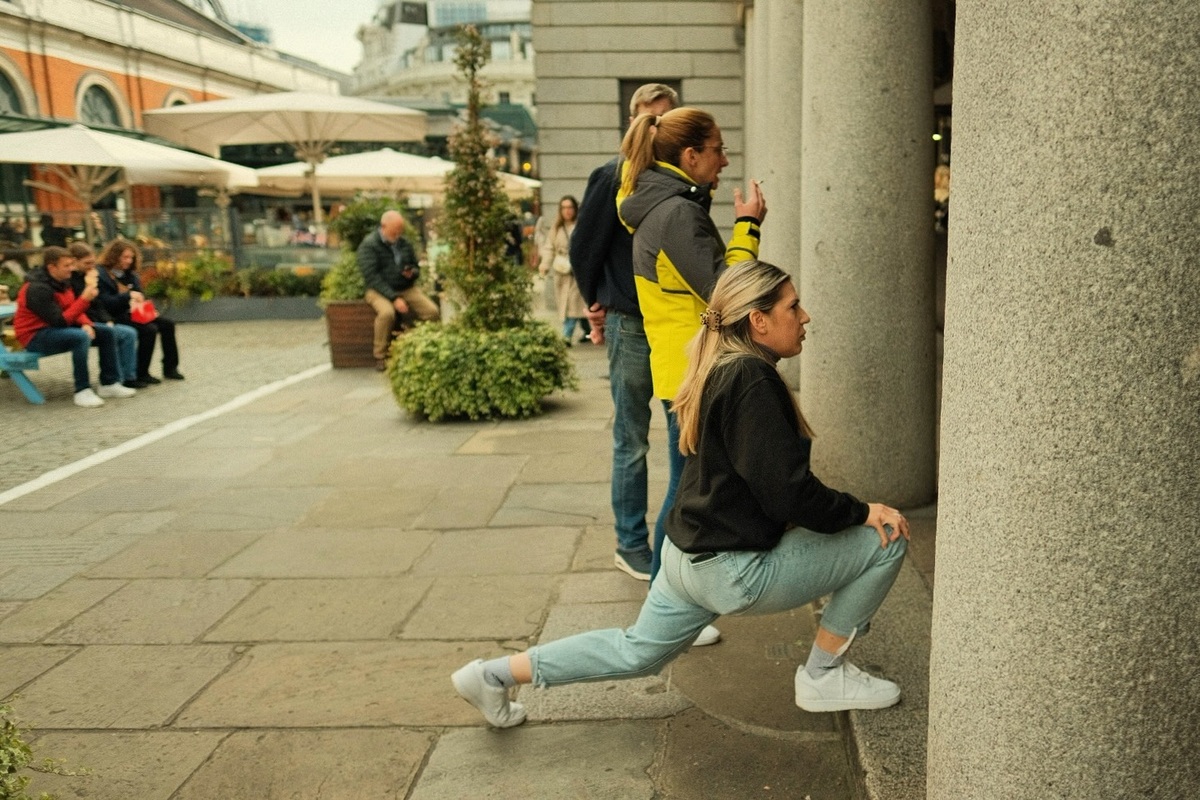
Shooting From the Hip
Camera at waist height, zone focused (see zone focusing card), shooting blind or with a rough sense of aim. The goal is natural, unguarded moments - people who have no idea they're being photographed. This is not a lazy technique. It requires spatial awareness, discipline about distance and timing, and a lot of editing afterwards. Watch for: horizon tilt. More frames than you expect will be unusable. That's fine. You're playing a numbers game here. The point: the best hip shots have an accidental quality that's hard to manufacture any other way. Winogrand had it. You'll know it when you see it.
Working a Scene
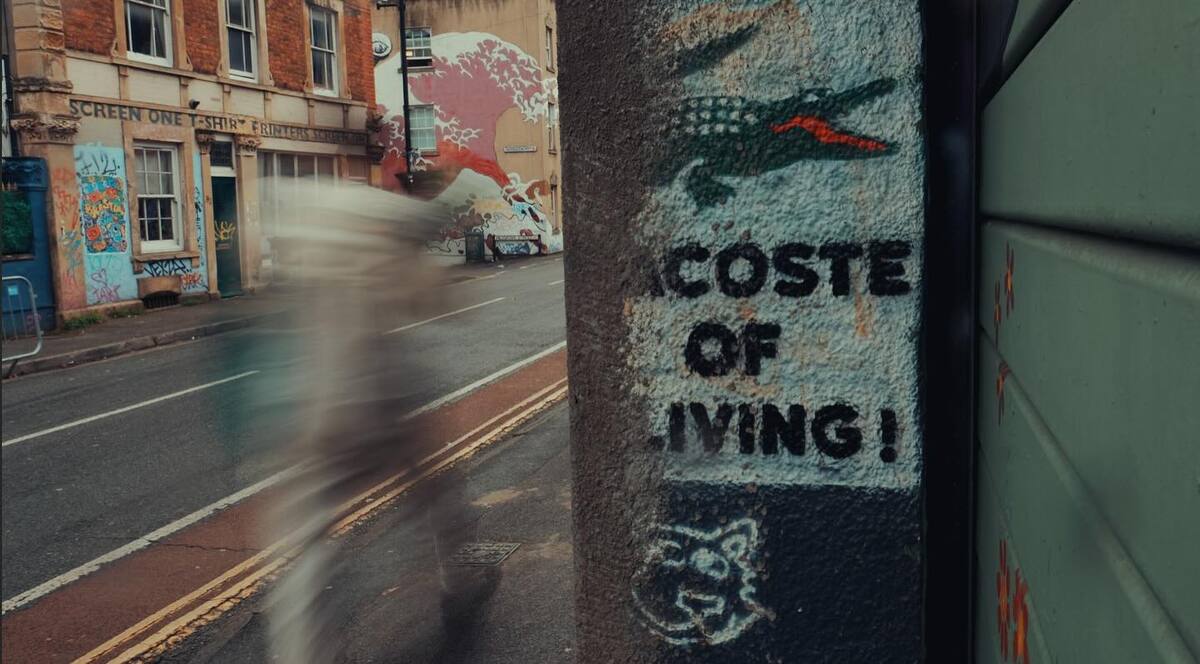
You spot a good background - a colourful wall, strong light, an interesting doorway, a gap in a crowd. Stop. Wait. Let people walk into it. Give it five minutes minimum. Most photographers walk past a good scene because nothing's happening yet. The ones who wait get the picture. Watch for: the peak of the action - someone mid-stride, mid-laugh, mid-argument. One person in a good background is fine. Two people interacting in a good background is a picture. The point: street photography is 30% finding the scene, 70% waiting for something to walk into it.
Backgrounds First
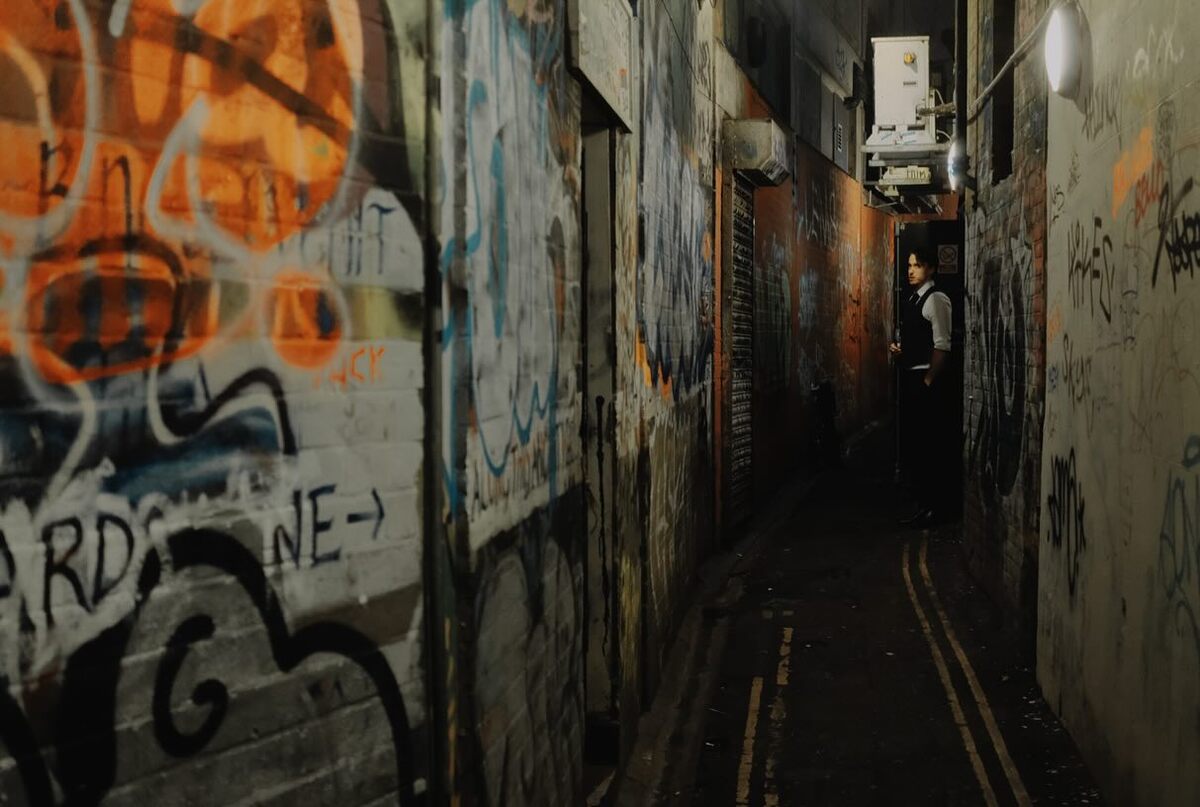
Before you look for subjects, look for backgrounds. Strong graphic elements, bold colours, interesting light, text, architecture. Anything that would make a picture on its own. Then position yourself so that background is behind whatever walks past. You're not chasing subjects. You're setting a trap. Watch for: background clutter that competes with your subject. The simpler and stronger the background, the harder it is to take a bad picture when someone walks through it. The point: the photographers who always seem lucky aren't. They've found a good wall and they're standing in front of it.
Using Reflections
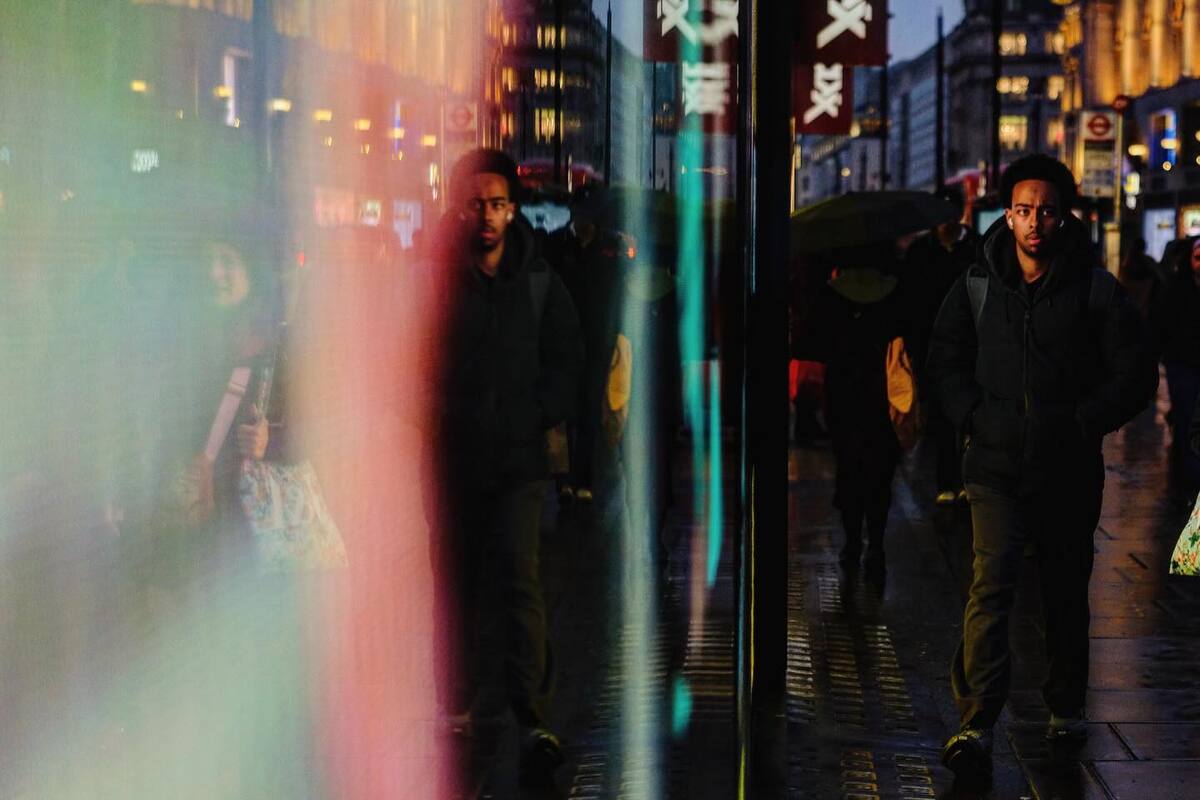
Puddles, shop windows, car bonnets, mirrored buildings, sunglasses. Reflections give you two scenes in one frame - the real and the reversed. The technique is in balancing exposure between the reflection and the subject. Expose for one and the other goes dark. Sometimes that's the picture. Watch for: your own reflection. Unavoidable sometimes, occasionally brilliant, usually a problem. Position yourself at an angle. Try this: Find one puddle after rain, get the lens almost to the ground, and wait for a figure to cross the reflected world above it. Tap to expose for the reflection, not the real scene, and the street inverts into something strange. The point: reflections add a layer of unreality to the street. They make familiar places look strange. That's worth pursuing.
Shooting Into the Light
Backlighting creates silhouettes, rim light, lens flare, haze. All of it is useful. Point your camera towards the light source and expose for the highlights. Your subjects go dark, their outlines sharp. Or expose for your subject and let the background blow out entirely. Both approaches work. The mistake is splitting the difference. Watch for: strong graphic shapes - silhouettes need to be readable. A person mid-gesture against a bright sky is more interesting than a person standing still. The point: most photographers put the sun behind them. Turning around completely changes what you're making.
Shooting in Rain
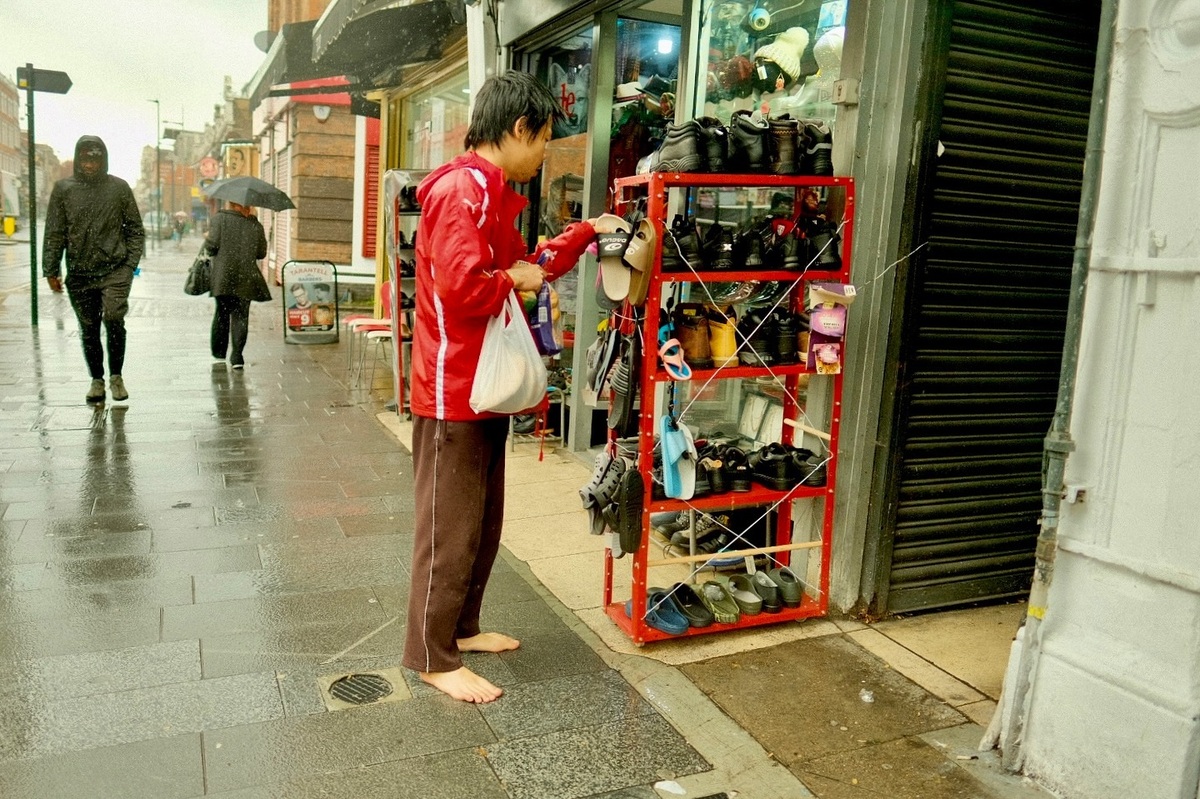
Rain does several things at once: it empties the streets of people who don't need to be there, it creates reflections on every surface, it adds mood and misery, and it makes colours saturate. All of that is useful. Umbrellas create natural framing. People hunch, run, huddle in doorways. Behaviour changes. So do pictures. Watch for: protect your gear. Shoot under awnings. The best rain pictures are often taken from shelter, looking out. The point: the photographers who go out in the rain come back with pictures. The ones who stay home don't.
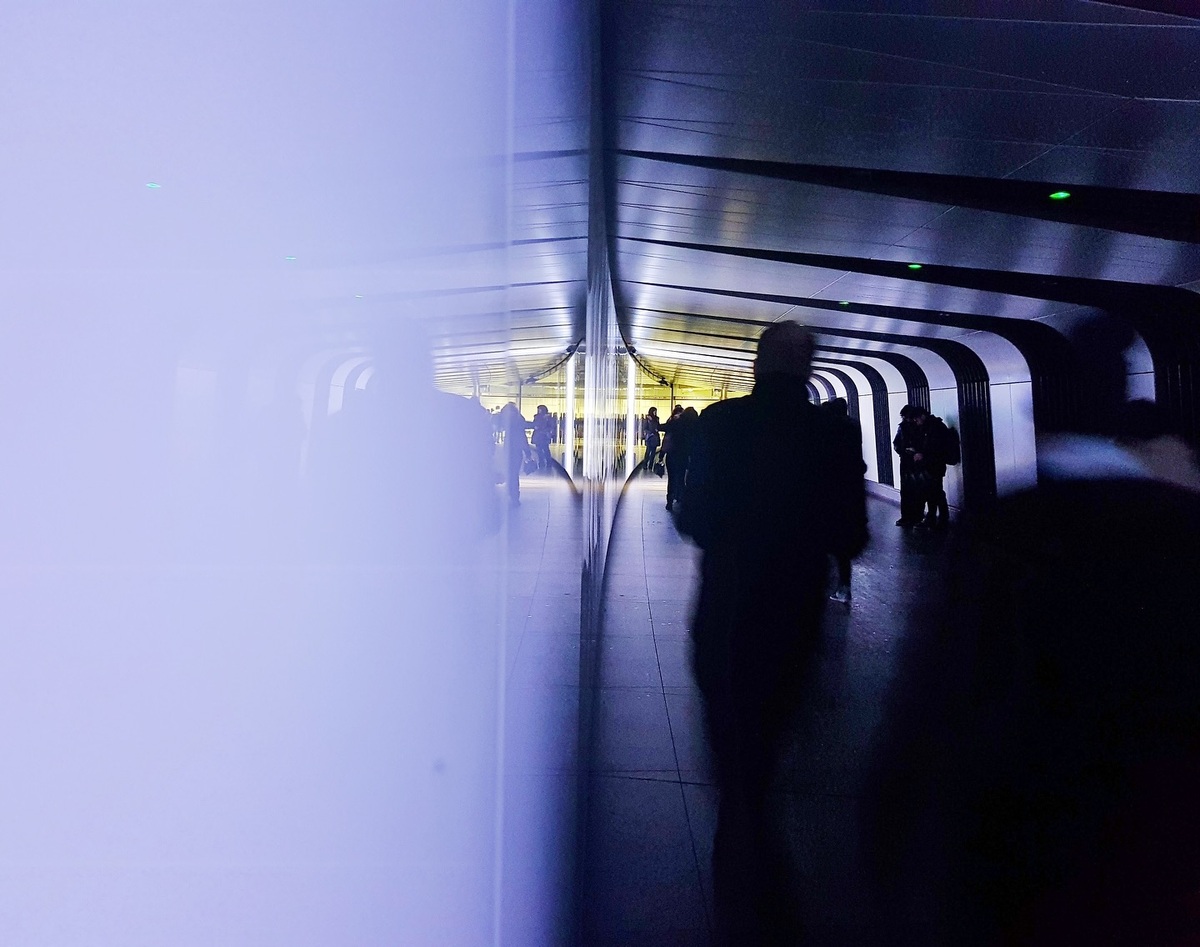
Shadows and Silhouettes
Find strong directional light - low sun, a narrow alley, a shaft through a gap in buildings. Look for shadows being cast rather than the thing casting them. A long shadow on an empty pavement is more interesting than the person making it. For silhouettes, expose for the bright background and let your subject go black. Make sure the outline reads clearly. Watch for: overlapping silhouettes - two people merging into one unreadable shape. Separation matters. The point: shadow pictures are abstract. Silhouette pictures are graphic. Both pull the viewer in differently.
Great street photographers don't walk further. They notice more. Every card gives your brain a specific problem to solve.
London, 2024
Street photography has a specific problem. You go out with good intentions and within twenty minutes you're walking in circles, shooting nothing, wondering why you bothered.
It's not a skill problem. It's a direction problem.
Street Manual is what I wanted to exist when I started shooting — a set of prompts, constraints, and reminders that get you out of your head and back to looking at the street. Not a course. Not a YouTube video. Something you can pull out on a corner in Bethnal Green at 10am and immediately know what to do next.
The constraint cards are gold. Sometimes being told exactly what to look for is all you need.
I wanted to get more into street photography but I'm short on time — this is the fix! Now I have a prompt to help me focus when I'm out with my camera.
Genuinely useful little deck, the free cards alone got me out the door with a fresh idea I probably wouldn't have tried. Love that it includes UK spot suggestions alongside the technique prompts.
Pulled three cards on a walk through town and actually came back with shots I wouldn't have tried on my own. The "shoot from the hip at f/8" prompt pushed me out of my comfort zone in a good way.