Street Photography: Where to Start
The internet is full of street photography advice, and most of it is either too vague or not much use when you are starting out. Get closer, use one lens, shoot from the hip, be invisible, be confident, don't overthink it — all repeated endlessly, none of it a place to begin. This is the short version: only the things that genuinely make your photos better.
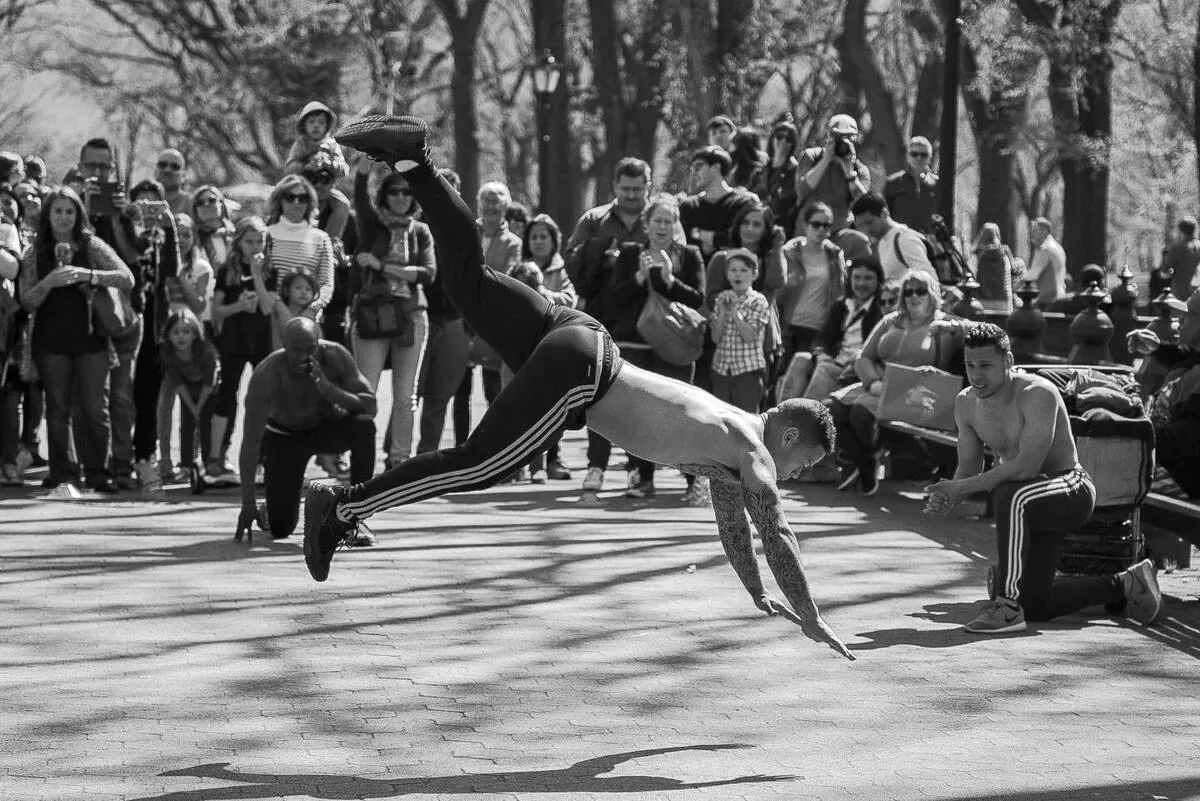
Settings: be ready before anything happens
Street photography is not really about camera settings — but bad settings will ruin good moments. The whole goal is to have the camera ready before the picture appears, so you are never fumbling with dials while the moment walks past.
Shutter speed. People move, and a shutter that is too slow gives you a soft frame. For most street work, 1/250 is a sensible minimum; if the movement is quick or you just want to be safe, 1/500 is better.
Aperture. This depends on the image you want. For layered photos with depth and several things happening across the frame, use a narrow aperture — f/8, f/11, sometimes f/14 — which also gives you a deep zone of focus (see the Zone Focus Distance Guide). For a cleaner, isolated subject, open up wider.
ISO. Let it float on Auto. In almost every real situation, a little noise is a better trade than a lost shot, so protect your shutter speed and let ISO rise to hold it (see Auto ISO Setup and High ISO Street). In steady daylight, the meterless Sunny 16 approach keeps you ready without checking a meter.
That is it. Your settings are not there to be perfect — they are there so you don't miss the shot.
Composition: build the frame
Most boring street photos are not boring because the subject was boring. They are boring because the frame was weak. A few things separate a strong frame from a flat one:
Layers. Foreground, middle ground and background that relate to each other make the frame richer — more to look at, more tension, more structure (see Layers and Depth).
Balance. What is happening on the left versus the right, the top versus the bottom? Is one side doing all the work while the rest sits dead, or does the whole frame carry weight?
Position. This matters far more than people think. One step to the left can fix a whole image; one step forward removes a distraction; one change of angle makes the subject pop against the background or makes shapes align. Much of street composition is not finding the perfect image but building it — adjusting your position until it works.
Figure to ground. Does your subject stand clearly out from the background, or disappear into visual noise? It is under-discussed and hugely important (the Gestalt Theory card goes deeper).
Negative space. Empty space is not bad — sometimes it is exactly what an image needs to breathe. But if it adds no mood, tension or clarity, it is just dead space (see Negative Space).
The five things that carry a photo
When a photo feels weak, it usually needs more from one of five things: light, colour, gesture, composition, or moment.
You rarely need all five. But at least one or two of them have to carry the image — a strong gesture, beautiful light, a hit of colour, a decisive moment, or a frame built so well the ordinary becomes worth looking at. If none of the five is present, no amount of editing will save it.
How to shoot: fish, don't just hunt
A lot of people treat street photography like hunting: walk fast, react, shoot, keep moving. Sometimes it works. But patience — the fishing approach — is far more powerful than it is usually made to seem (see Hunting vs Fishing).
The better method most of the time: find a scene that already has something going for it — good light, interesting shapes, a strong background, beautiful colour. That is your stage set. Now wait. Let people enter the frame, let a foreground and middle ground appear, keep adjusting your position and angle against the background you chose, and capture the moment when it builds (this is Working a Scene). Finding a patch of light or a strong background first and waiting for the right person or gesture to complete it is a calmer, more reliable way to work than chasing subjects through a crowd.
You do not always have to get close. It is the most repeated advice in street photography, and sometimes it is right — but often the stronger image comes from staying put and letting the world move through your composition.
Expose for the highlights in hard light, such as around midday. Once highlights are blown they usually look terrible and cannot be recovered; shadows are far easier to bring back later (this pairs with Shooting Into the Light).
So the approach in one breath: get your settings out of the way, find a scene with potential, wait longer than most people would, and let the photo come to you.
What to look for: your eye, not theirs
Beginners ask, "What am I supposed to photograph in the street?" It is the wrong question. The right one is: what actually catches your eye? What do you keep noticing when you walk?
Are you drawn to colour, light, humour, tension, loneliness, geometry, crowded scenes, clean minimal ones, people up close, or wider city frames where people are small elements in a bigger picture? There is no correct answer — the point is that your photography improves when you stop trying to make "street photography" and start paying attention to what genuinely attracts you. That is where a style is built: not from presets or copying someone else's photo, but from noticing your own vision. Colour, for instance, is worth chasing deliberately once you know it pulls your eye (see Colour Hunting).
Finding your style: photo books, not the feed
A lot of people try to find their style on Instagram. It is one of the worst places to look. The feed rewards what is instant, flashy and easy to consume — which is not the same as what is good, deep or lasting.
A far better teacher is photo books. Buy them, study them, revisit them, spend real time with them. Notice which images stay in your head, and — more importantly — ask why. Is it the tension, the light, the humour, the complexity, the simplicity, the colour? Once you start seeing those patterns across different photographers, go outside and look for them yourself.
Gear: what you'll actually carry
Use a camera you genuinely enjoy carrying. Smaller is usually better — less weight, less friction, more freedom, and more chance the camera is with you when the picture happens.
On lenses, the common advice to pick one focal length and never change it helps once you know what you like — but at the start you don't know yet, so experiment before you commit. Rough guide:
- 28mm — energy, density, getting really close, a strong perspective.
- 35mm — the safest all-rounder, and the most popular street focal length.
- 40mm or 50mm — staying a little further back, cleaner frames, isolation, nicer backgrounds.
- 85mm or longer — compression, abstract frames, connecting distant elements.
The essentials, in one line
Reduced to what matters: get your settings ready, learn to build a frame, stop rushing, pay attention to what genuinely pulls your eye, and study great work rather than just trendy work. Everything else is detail you can add once these are habits.
Field Questions
What camera settings should a beginner use for street photography?
Start with a shutter speed of at least 1/250 (1/500 to be safe), an aperture of f/8–f/11 for layered scenes or wider for an isolated subject, and Auto ISO so you never sacrifice shutter speed. The aim is simply to be ready before the moment happens.
Do you have to get close in street photography?
No. Getting close is the most repeated advice and it is sometimes right, but often the stronger image comes from staying put and letting people move through a composition you have already built around good light or a strong background.
What is the difference between hunting and fishing in street photography?
Hunting is walking fast and reacting to what you see. Fishing is finding a scene that already has something going for it — light, shapes, colour, a strong background — then waiting for the right subject to complete it. Fishing is usually the more reliable way to make a strong frame.
What lens is best for street photography?
35mm is the safest all-rounder and the most popular choice. 28mm suits close, energetic, dense work; 40–50mm suits cleaner, more isolated frames; 85mm and longer suit compression and abstraction. Early on, experiment before committing to one.
How do I find my own style in street photography?
Pay attention to what genuinely catches your eye rather than copying trends, and study photo books instead of social feeds. Notice which images stay with you and why — tension, light, humour, colour — then go out and look for those things yourself.